Drywall Installation in Davenport, IA — Residential & Commercial Drywall Contractors
New construction, additions, basements, and garages boarded from open framing and taken to a paint-ready finish across Davenport and the Quad Cities. Every estimate follows a walkthrough, not a phone description.
Drywall Installation in Davenport, IA
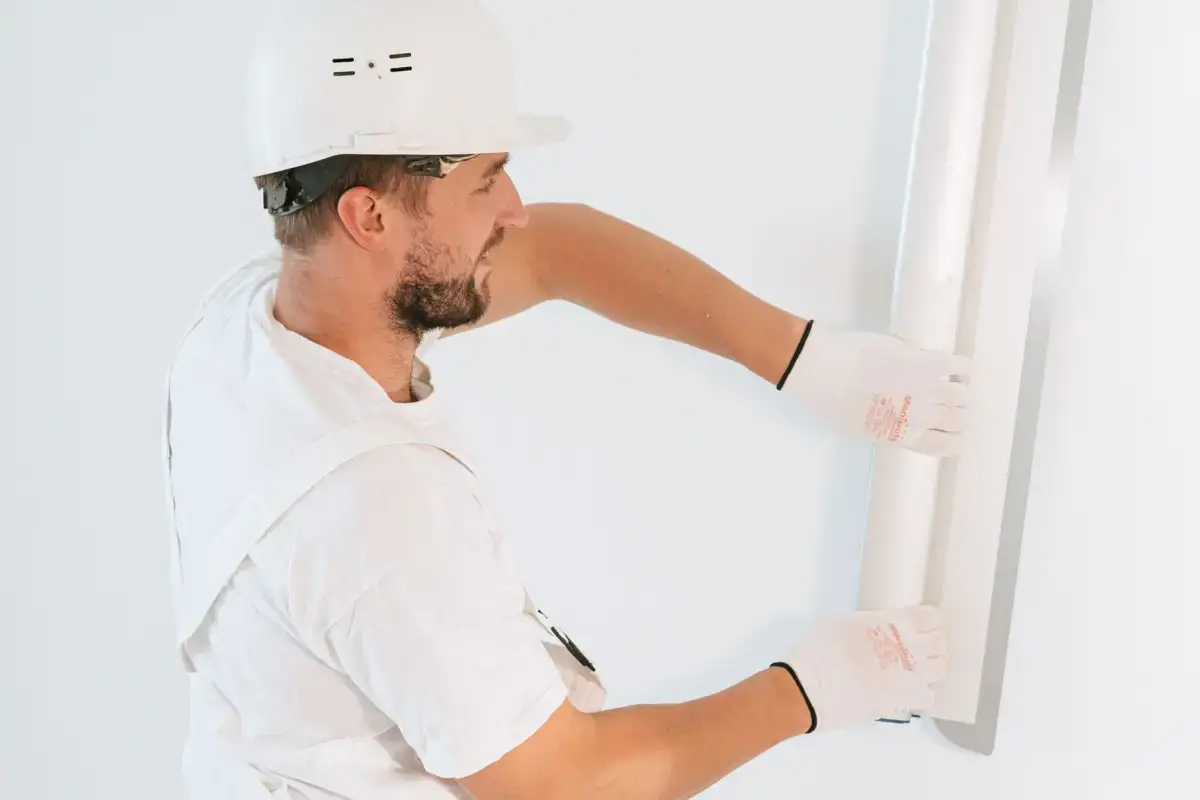
Davenport Elite Drywall is your local resource for drywall installation throughout Davenport and the Quad Cities. We work with experienced drywall professionals who hang, tape, and finish board in Quad Cities homes and commercial spaces every week.
Drywall installation is the stage where a framed room stops being a construction site and starts being a room. Board gets selected, cut, and fastened to the studs and joists, seams get taped and coated, and the whole surface is sanded to whatever finish level the paint and the lighting call for. Done well, nobody ever thinks about it again. Done badly, every seam and fastener shows up the first afternoon the sun comes through the window at an angle.
The part most homeowners underestimate is panel selection. Standard board, moisture-resistant board, and Type X fire-rated board are not interchangeable, and picking the wrong one below grade or against a garage ceiling is the kind of mistake that surfaces two years later. In Davenport that matters more than in most places — roughly 24% of the housing here predates 1940, so a new addition frequently meets original plaster at a corner and the two systems have to be blended rather than butted together. Below-grade work is its own decision set and has its own page; see basement drywall.
What’s Included in a Davenport Drywall Installation Quote
- Panel selection by room — standard, moisture-resistant, or Type X fire-rated board where code requires it
- Framing checked for plane, plumb, and fastener backing before any board is lifted
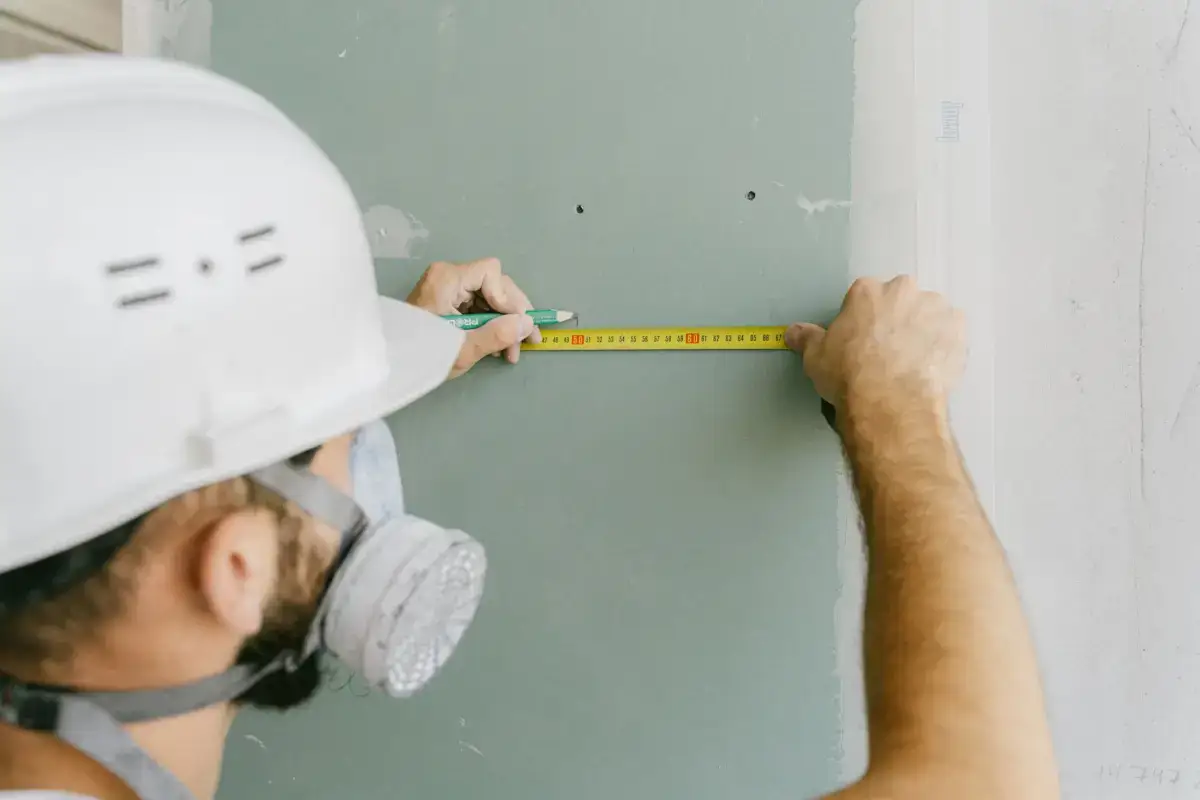
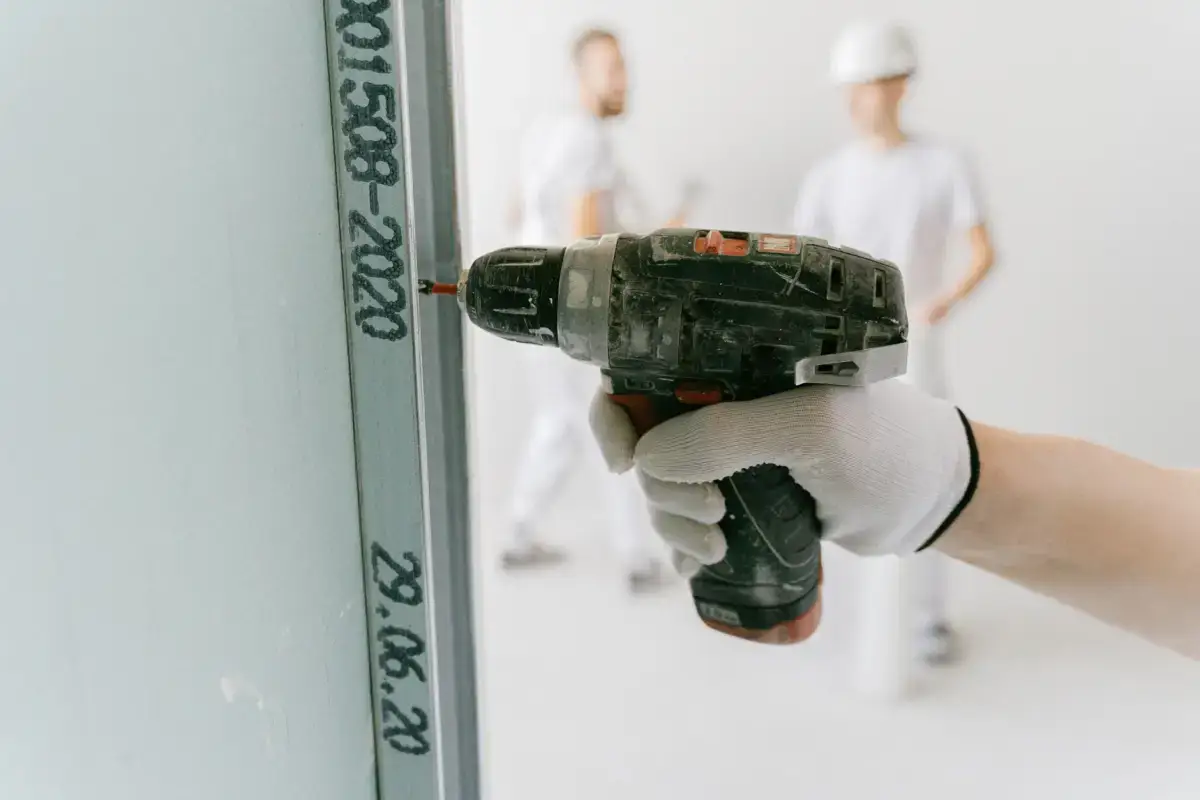
- Board cut and hung with staggered seams, screwed off to the correct spacing and depth
- Corner bead set on every outside corner and inside corners taped square
- Three-coat tape, bed, and finish across seams and fasteners
- Sanding to the agreed finish level, from Level 3 under texture to a Level 5 skim coat
- Cutouts for outlets, switches, registers, and fixtures
- Floors covered, dust controlled, and debris hauled out at the end
Professional Drywall Installation in Davenport, IA
New Construction Drywall Installation
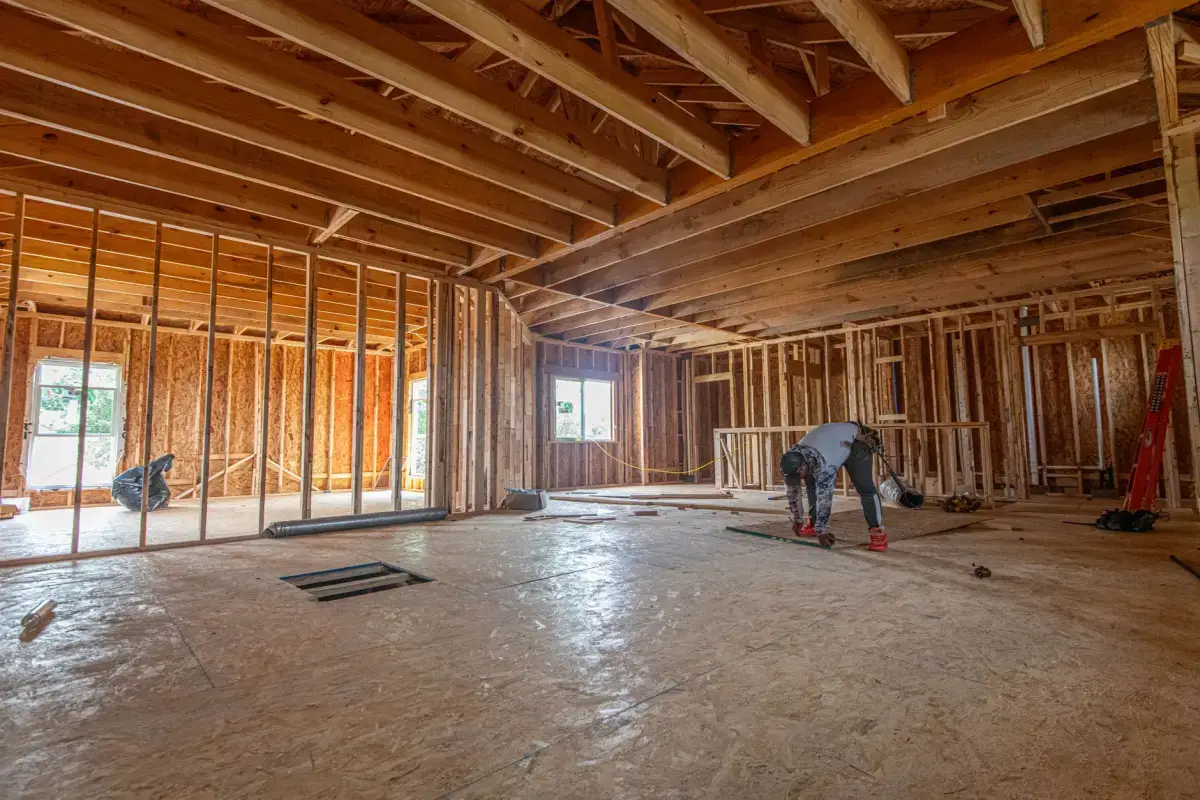
Whole-house board on a new build, hung after the mechanical, electrical, and plumbing rough-ins have passed inspection and the insulation is in. New construction is the one situation where the framing is genuinely open and accessible, so it is the cheapest per square foot of any drywall work and the easiest to get flat. The main variable is the finish schedule: a builder-grade Level 3 under texture costs meaningfully less than a Level 5 skim coat, and the decision is easier to make before the crew is on site than after.
Home Addition Drywall Installation
Board hung in a new addition and, more importantly, tied into the existing house at the joint. This is where additions go wrong. The new framing is dry, straight lumber; the wall it meets has been settling for decades and may not be drywall at all. In older Davenport neighborhoods that seam is frequently drywall meeting original plaster, which needs a skim coat feathered across the transition rather than a butt joint and tape. Get that wrong and a hairline shadow marks the addition line for the life of the paint.
Wall & Ceiling Drywall Installation
Board hung on walls and ceilings as a single coordinated job, which is how a room actually gets built. Ceilings go up first so the wall panels butt underneath and help carry the ceiling edge, and ceilings usually take 5/8-inch board rather than half-inch because half-inch sags between joists over time, especially on 24-inch spacing. Wall panels then run perpendicular to the studs with seams staggered. Getting the order right is why a finished room has a crisp wall-to-ceiling line instead of a corner that opens up in its second winter.
Garage Drywall Installation
Garage walls and ceilings, which are a code question before they are a finish question. The assembly separating an attached garage from the living space above or beside it is required to resist fire, and that generally means Type X board of a specified thickness, fastened at a specified spacing, with the joints treated. Substituting standard board there because it was on the truck is a real safety issue and a failed inspection. Detached garages are a simpler job, usually a Level 2 or 3 finish since the space is utility rather than living area.
Drywall Hanging & Sheetrock Installation
The hanging stage on its own, for builders and homeowners who have a finisher lined up separately or want the board up before deciding on a finish level. Panels run perpendicular to the framing with seams staggered, butt joints landed on backing rather than floating, and screws set to dimple the paper without breaking it. Hanging quality determines finishing cost: board hung tight and flat can be finished quickly, while board hung with wide gaps and proud fasteners takes extra coats to hide and never comes out as flat.
Signs You Need Drywall Installation
- New framing is up and mechanical, electrical, and plumbing rough-ins have passed inspection
- An addition is framed and dried in, and the interior is ready to close up
- An attic is being converted to finished living space
- An attached garage needs a fire-rated assembly built or rebuilt
- Old plaster has been torn out down to the lath and the wall is open
- A remodel opened walls for new wiring, plumbing, or ductwork and they need closing
How Drywall Installation Works
- 1
Walkthrough, Measurement, and Panel Decisions
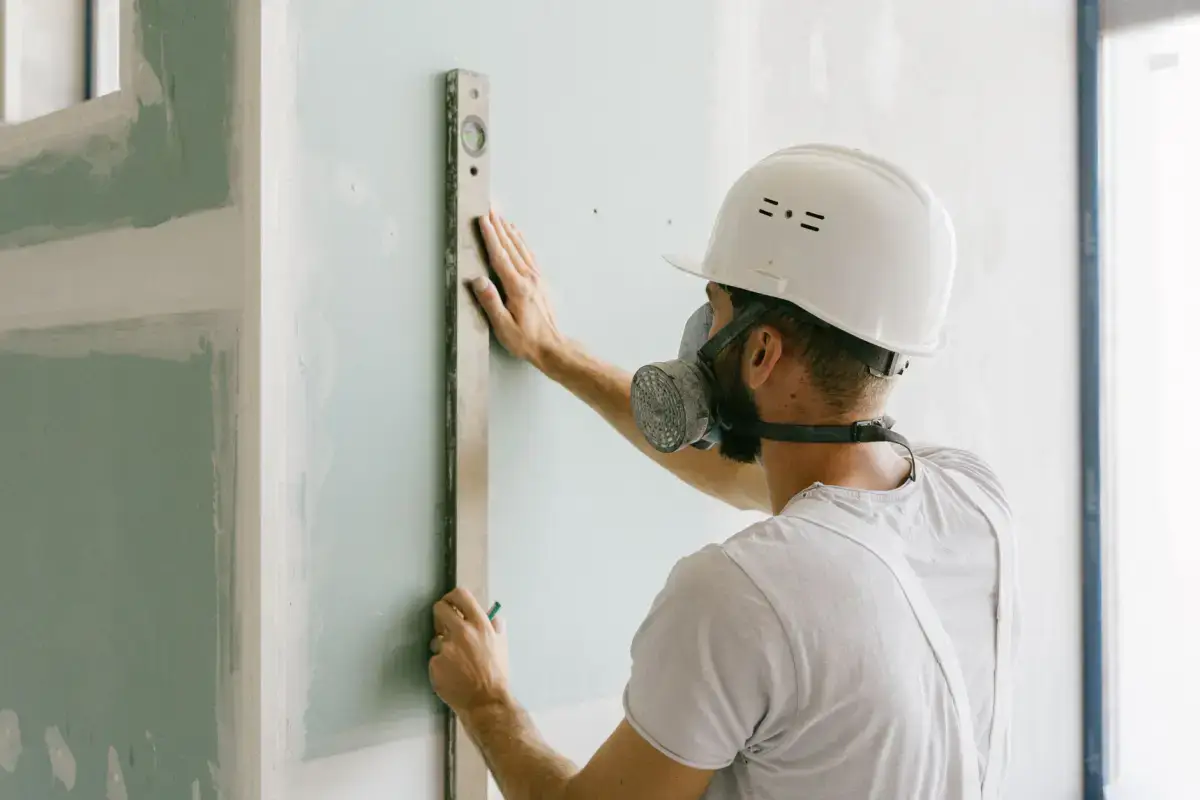
The job starts with someone in the space measuring square footage and looking at what the room actually is. Ceiling height sets whether panels run 8, 9, or 12 feet and how many butt joints the room will end up with — fewer joints means a flatter wall, so panel length is a quality decision, not just a materials one. Each area is assigned a panel type: standard board for most living space, moisture-resistant where humidity collects or the room sits below grade, and Type X where an attached garage or a shared assembly requires a fire rating. The framing is checked at the same time for plane, plumb, and whether there is backing behind every seam and corner, because board fastened to bowed or unbacked framing telegraphs that bow permanently. Anything that needs furring or shimming gets identified here rather than discovered mid-hang.
- 2
Hanging the Board
Ceilings go up before walls, so the wall panels butt up underneath and help carry the ceiling edge. Panels run perpendicular to the framing, which crosses more members and stiffens the assembly, and seams are staggered rather than stacked so no single line runs the height of a wall. Butt joints land on framing or added backing instead of floating between studs. Screws are set to dimple the paper without tearing through it — a screw driven too deep loses its grip and becomes next winter's pop, and one left proud shows through the finish. Cutouts for boxes, registers, and fixtures are measured and cut as the panel goes up rather than patched afterward, since a tight cutout is easier to finish than an oversized one filled with compound.
- 3
Taping, Coating, and Corner Work
Tape is bedded into a first coat of compound over every seam, and corner bead is set on every outside corner to give it a straight, protected edge. Inside corners are taped square. Then come the fill and finish coats, each one wider than the last, feathering the buildup out across the surface so the eye cannot find where the seam stops. Fastener heads get the same treatment, typically three passes. Drying time between coats is not optional and it is most of the calendar on a drywall job — compound coated over material that is still damp shrinks unevenly and cracks later. This is the stage where rushing shows up most visibly, and it is why a room takes days rather than hours.
- 4
Sanding to the Agreed Finish Level
The surface is sanded to the level the room actually needs. A Level 3 is adequate under heavy texture. Level 4 is the standard for walls taking flat or eggshell paint and is what most rooms get. Level 5 adds a skim coat across the entire surface and is the right call under gloss or semi-gloss paint, on a long wall with a window at one end, or anywhere a light source rakes down the surface at a low angle — conditions where anything less will show every seam. Work lights get set at a low angle deliberately during sanding, because that is the condition that reveals imperfections, and finding them then is the whole point. The room is walked before it is called finished.
What Does Drywall Installation Cost in Davenport, IA?
- Total square footage of board, which drives both material and labor
- Ceiling height, which sets panel length and how many butt joints the room carries
- Finish level — a Level 3 under texture costs less than a Level 5 skim coat
- Panel type, since moisture-resistant and Type X board cost more than standard
- Ceiling work, which is slower and more physically demanding than wall work
- Access — a ground-floor room is a different job than a third-floor space up a tight stair
- Whether the new work has to tie into existing plaster at any joint
| Service | Cost Per Sq. Ft. | Typical Job |
|---|---|---|
| New Drywall Installation | $1.50 – $3.00 per sq. ft. | $1,000 – $3,254 per project |
| Small Patch or Hole | $75 – $350 per patch | $300 – $500 for a contractor visit |
| Larger Wall Repair | $500 – $800+ per patch | Scales with how much board comes out |
| Ceiling Repair | $297 – $472 per hole | $220 – $1,300 for the full ceiling |
| Water-Damaged Drywall | $500 – $2,500+ | Depends how far the moisture traveled |
| Texture Matching | $150 – $450 per patch | Runs 30 – 40% above a smooth finish |
Based on 2026 national cost-guide data from Angi, HomeGuide, and Homewyse. Quad Cities rates land above or below these ranges depending on ceiling height, access, texture type, and how much board has to come out before new board goes back in. Water damage is the widest range on the table because the scope isn't known until the wall is opened. You get a firm number after someone sees the job.
National cost guides put drywall installation at roughly $1.50 to $3.00 per square foot all-in, with materials accounting for about 30 to 50% of that and labor the balance. The number those guides cannot tell you is what happens when the framing is not flat. Furring out a bowed wall before board goes on adds labor that a per-square-foot estimate does not anticipate, and skipping it produces a wall that reads as wavy under any raking light. That is the single most common reason a real quote comes in above a calculator estimate, and it is decided by looking at the framing, not by the square footage.
What to Look for in a Davenport Drywall Installation Contractor
They Ask About Lighting Before Quoting a Finish Level
Finish level is the biggest swing in a drywall quote, and the right answer depends on where the windows are and what sheen the paint is. Anyone who quotes a level without asking either of those is guessing, and the guess usually resolves in their favor rather than yours.
They Look at the Framing, Not Just the Square Footage
Bowed studs, missing backing behind a seam, and out-of-plane corners all add labor before a single sheet goes up. A quote produced from room dimensions alone has not accounted for any of it, which is why it changes later.
They Treat Drying Time as Part of the Schedule
Compound needs to dry between coats, and a timeline that has a room taped and sanded the same day is describing a job that will crack. A realistic schedule is a sign of competence, not slowness.
Dust Control and Floor Protection Are Discussed Up Front
Sanding drywall produces fine dust that travels through a whole house. Plastic at doorways, covered floors, and a plan for cleanup should be part of the conversation before work starts rather than something you raise afterward.
Residential & Commercial Drywall Installation
Residential
Residential installation covers additions, basement and attic conversions, garages, and full gut remodels — work that happens in an occupied house where dust control, floor protection, and getting the family through the week matter as much as the finish itself. Scheduling is built around drying time between coats, so most single-room jobs run several days rather than a single visit.
Commercial
Commercial installation in the Quad Cities carries requirements a house does not: fire-rated assemblies between tenant spaces, sound ratings called out in the project documents, and a finish schedule written by an architect rather than agreed on site. Work is sequenced against the trades booked before and after it, and inspection timing usually drives the calendar more than the drywall itself does.
When Drywall Installation Isn’t the Right Call
- Properties outside the Quad Cities — the professionals we work with keep the range tight so the schedule stays honest.
- A single sheet of board in a closet you are comfortable hanging yourself. Rent a panel lift for the day and it is a genuinely doable weekend job.
- Framing that has not passed rough-in inspection yet. Board hung over unapproved electrical or plumbing comes straight back off, and the second hang is on you.
- A below-grade space. Basements carry their own panel, framing and moisture decisions, and they are covered on the basement drywall page rather than here.
Serving Nearby Cities
Each city below has its own page, because what is behind the wall genuinely changes across the river. Housing age swings hardest: about a third of Rock Island’s housing predates 1940 against roughly 5% of Bettendorf’s, which decides whether a job starts as plaster work or board work before anyone measures anything.
Frequently Asked Questions
- How long does drywall installation take in a typical room?
- Usually three to five days for a single room, and most of that is drying time rather than hands-on work. Hanging a room is often a single day. Taping and the two or three finish coats each need the previous coat fully dry before the next goes on, which is what stretches the calendar. A crew promising a hung, taped, sanded, and primed room inside twenty-four hours is describing work that will crack along the seams.
- What thickness of drywall should be used?
- Half-inch board is standard for interior walls. Ceilings often use 5/8-inch, because half-inch board can sag between joists over time, especially on 24-inch spacing. Type X fire-rated board is typically 5/8-inch and is what a shared garage or tenant-separation assembly requires. Quarter-inch board exists mainly for curved surfaces and for laying over an existing wall, not for new construction.
- Do I need moisture-resistant drywall in a Davenport basement?
- In almost every case here, yes. A river-valley basement deals with groundwater and seasonal condensation whether or not it has ever visibly flooded, and standard gypsum board absorbs that moisture and stays soft. Moisture-resistant panel below grade costs modestly more up front and is far cheaper than reboarding a finished lower level. It is also not a substitute for fixing an actual water problem before you cover the wall.
- What's the difference between drywall and sheetrock?
- Nothing, functionally. Sheetrock is a brand name for gypsum board that became a generic term the way people say Kleenex for tissue. When a contractor says sheetrock installation and another says drywall installation, they are describing the same work with the same material.
- Should I choose a Level 4 or Level 5 finish?
- Level 4 is right for most walls taking flat or eggshell paint and is the standard residential specification. Level 5 adds a skim coat across the whole surface and is worth the cost under gloss or semi-gloss paint, on a long wall with a window at one end, or in any room where a light source washes down the wall at a low angle. In a hallway or a room with diffuse light, you will not see the difference and the upgrade is money spent on something invisible.
- Can new drywall be tied into existing plaster walls?
- Yes, and it comes up often here given how much of Davenport's housing predates 1940. The two materials differ in thickness and in how they move, so the transition gets a skim coat feathered across the joint rather than a simple taped butt seam. Handled that way the change is invisible. Handled as a standard drywall joint, a shadow line marks the transition permanently.
Learn More
- Gypsum Association GA-214 — the industry standard defining drywall finish Levels 0 through 5, published with AWCI, CISCA, PDCA and the Drywall Finishing Council
- US EPA — Indoor Air Quality: Moisture Control — why gypsum board below grade needs moisture planned for before it is installed, not after
- National Weather Service — Quad Cities — river stages and flood outlooks that affect below-grade work in Davenport
Need Drywall Installation in Davenport, IA?
Tell us what’s going on and get an on-site estimate — no charge for the visit, and no obligation to book the work.
Get My Free Estimate